Showing posts with label Before After. Show all posts

Monday, 11 March 2013

BEFORE: MASTER BEDROOM

One of my priorities for the first few months of this year is to finish off our master bedroom. I have been doing things in dribs and drabs (some early progress here). But somehow making decisions for the room you spend most your time in is much harder than making decisions for the guest bathroom! Lots has been done - kind size bed and upholstered bed head, built in robe a new rug and roman blinds. But I still need to make a decision about reupholstering the small couch (early deliberations here). Before we go any further, I wanted to post some photos of the room when we moved in (and from the sale materials). 
The sale photos
The day we moved in
The walls had an "interesting" grey marble paint effect up to the picture rail.


Monday, 4 March 2013

AFTER: GUEST BATHROOM

Just as I was my retirement was cut short by gainful employment, I was planning to refresh the guest bathroom. Having to work for a living, unfortunately meant that this project took much longer. However eventually Mr B offered to help out with the plastering and painting. So now it is all done, and I am disproportionally pleased the outcome. Check out the Before photos here.
New plaster capping added, white paint and vintage oval mirror
New shower hardware and showerscreen re-sealed
Woodwork all painted white
Vintage hotel china soap dish
Handtowel from my mega-visit to NY's ABC Carpet & Home
New taps (same as main bath)

Vintage milkglass light
Refurbished linen press
The finished product

Sunday, 9 September 2012

AFTER (FIRST STAGE): GARDEN

The biggest project during my "retirement" was the finishing off garden overhaul which started at the beginning of the year when I first stated pulling out the overgrown plants. Check out the before and early WIP shots here.

Once all the garden beds were emptied out, the first job we tackled was replanting the tiered garden beds with some gardenias and small hydrangeas.

The much bigger task was dealing with the rest of the area. We wanted to make the garden beds a lot narrower because the space was relatively small and I wanted to maximise the lawn. However this meant moving two very large sandstone blocks. We had a few attempts are moving these - firstly Mr B got all excited about hiring a "small bulldozer" to do the job (and some of the levelling work). But it turned out to be absolutely useless. So instead we hired a circular saw to cut the blocks into pieces which could be carried. This meant that most of the blocks could be used in a small retaining wall at the back of the lawn. We then levelled out

I am kicking myself for not taking more WIP photos - but Mr B literally didn't let me stop long enough to take photos. We got all of this done in two very long days.

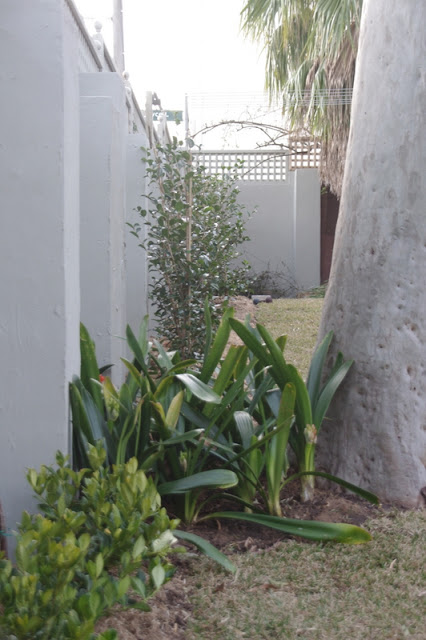
After all the hard-core landscaping was done, S.P. and I planted ten white sasanqua Camellia's along the fence and filled the smaller garden beds with some more gardenias. We also planted some lillies around the base of the gum tree.
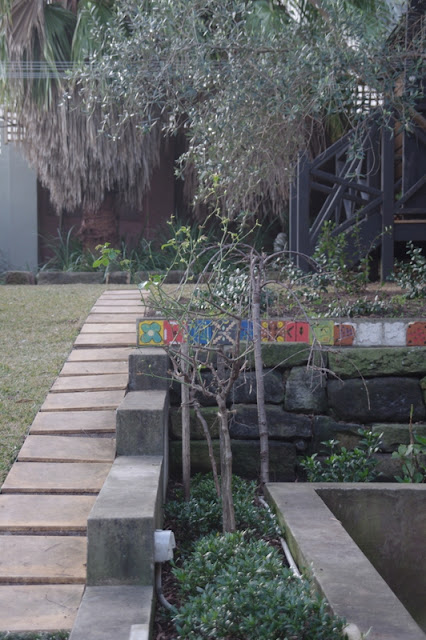
Tiered garden beds replanted with gardenias and hydraneas.
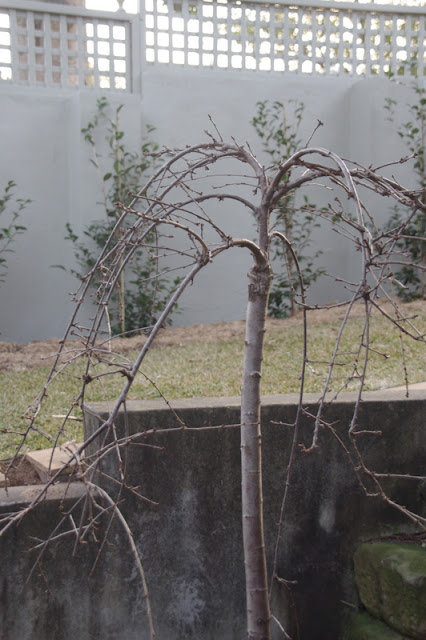
Weeping cherry transplanted from middle of lawn area.
New level lawn.
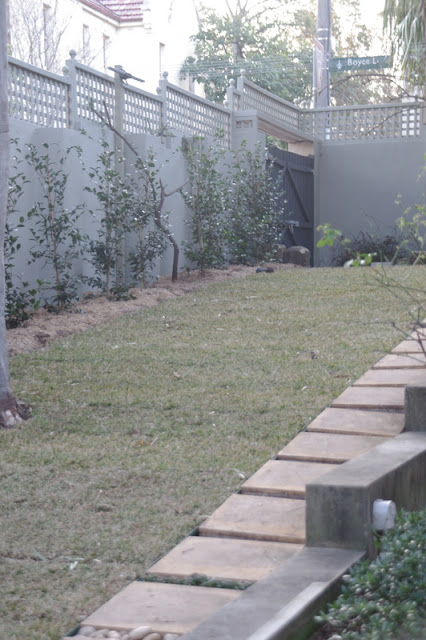
The row of sasanqua camellias against the fence. 
More lawn. 
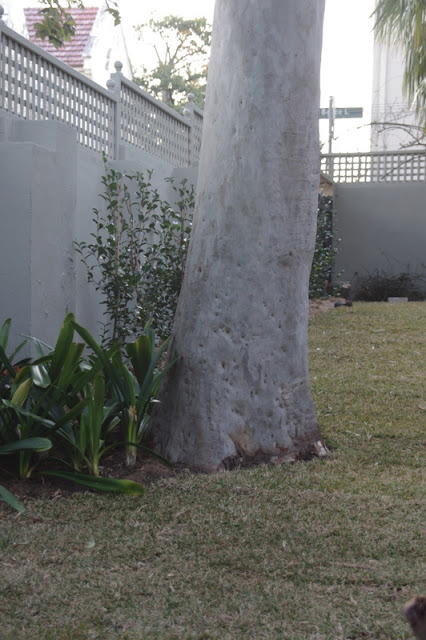
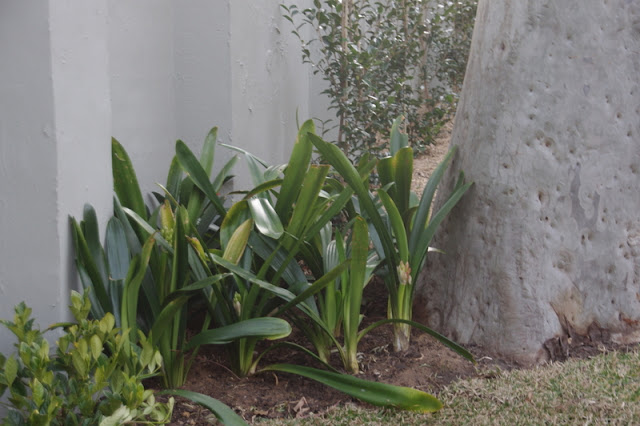
Lillies at base of gum tree. 
New smaller garden beds along fence.
I am looking forward to seeing the plants sprout as we head into spring time and look forward to being able to take some true "After" photos once things have grown a bit.


Monday, 3 September 2012

BEFORE: GUEST BATH

The current indoor project is the "refresh" of the guest bathroom. We can't justify a complete re-fit (nor is it really needed) so I have decided to do a few small DIY things to spruce it up. This is how it looked when we moved in (and it was only workable bath).


Since we moved in I have replaced the tapware with the same chrome and white taps which were used in the main bath (here); replaced the toilet seat and had the shower screen re-sealed and the brass hinges replaced with chrome ones.

What's left? I am refreshing the linen press (more to follow); will enlist Dad to help me install some plaster capping to finish off the tiles; I need to find a (vintage) oval mirror; and finally I will paint all the woodwork and walls white.

Sunday, 26 August 2012

WIP: COURTYARD (WALLS & GATES)

It was quite a team effort to get the garden walls painted - Mr B turned up at the crack of dawn with a high pressure hose and cleaned the walls (and anything else that would stand still!), S.P. and I knocked over the concrete walls one sunny Saturday which left me with the job of painting the lattice. The painful (literally) process was not helped by the fact I painted about half of the lattice dark blue / grey before deciding it looked too much like a 1980s holiday resort and started again in the same colour as the wall (Porter's French Blue). Gates were repainted with Dulux's Domino and have been treated to new hardware.


Monday, 20 August 2012

WIP: COURTYARD WALLS

Before I headed off shopping and eating my way around New York, Boston and San Fran - I had some serious painting to do.

We are jinxed. In our Old Home we inherited courtyard walls which were bright blue and purple.

We repainted these a taupe-y colour during our time there.

The New Home also deep purple walls. But LOTS more of them - as they run all the way around the back courtyard and garden. Small sample below.

After completing the plant destruction process (here), my next task is to paint the walls. The slight complication with the colour selection process is that "one day" I plan to repaint the outside of the house (it is currently a slightly pinky-cream) to a more stone / neutral colour. The garden walls don't need to be the same colour as the house (in fact they will be much darker) but they do need to be the same tone.

I have settled on Porter's Stone Paint in French Grey with Dulux's Domino for the gates (and eventually the garage too).

Friday, 11 May 2012

AFTER: GUEST BEDROOM

I have finished decorating our main guest room. This bedroom is at the rear of the first floor and is ready for inter-state guests. The room holds our old queen size bed, a set of painted bedside drawers (here), a small wooden pot cupboard (my first furniture restoration project), the blue and white lamps (here) and the most recent addition - the re-upholstered Ebay-found mustard retro chairs (here).


Tuesday, 1 May 2012

BEFORE: GUEST BEDROOM

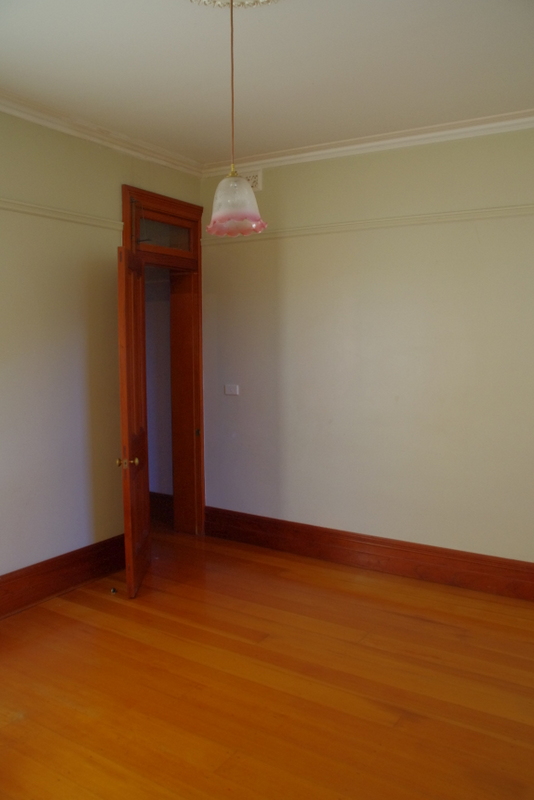
Before I post the "After" photos for our guest bedroom, I thought a couple of "Before" shots were in order. It is a good size room at the back of the house. The ceiling is lower than the rest of the rooms, but it still has the ornate ceiling rose, picture rail and cornice. Note the lovely rose glass light shade and faux wooden blinds. 


Wednesday, 4 April 2012

WIP: GARDEN

Over the last couple of months, on the fine weekends (which have been few and far between) we have been steadily ripping out the over-grown garden that we inherited with the house. Very therapeutic!

I am concious that it looks OK in these photos but in the reality was a lot of old, woody, overgrown plants which had had their day. There was a lemongrass herb which was 1.5m in diameter! Everything was also too big for what is actually a relatively small block of land.


By the end of last weekend, after days of work - all that was left was these piles of plants.
The smaller of three cotton palms was swiftly destroyed
Random bricks found throughout the garden beds
And the rest (this pile is almost 2m high)!
We have left the olives, the gum, a magnolia, some roses and a weeping cherry - but most of the rest is gone. The work plan from here is extensive and will take us many more months of replanting and re-modelling (not sure if this is the right word?) the lawn. We are going for something neater and simpler. And monochromatic of course. But given I have no track record in keeping plants alive - most important are plants which are low maintenance!